Your own VPN. How to set it up properly

Online privacy and anonymity are very important for many people of different occupations. The lack of data privacy and security can lead to the heightened potential of data breaches and various threats.
If you want to start a journey to your online protection, a VPN is the starting point. It is beneficial to use a VPN along with a hosting solution that provides an increased level of anonymity. HostZealot has a list of the best anonymous hosting providers that you can use to find the best fit for you.
But without further ado, let’s dive into how to properly set up your own VPN.
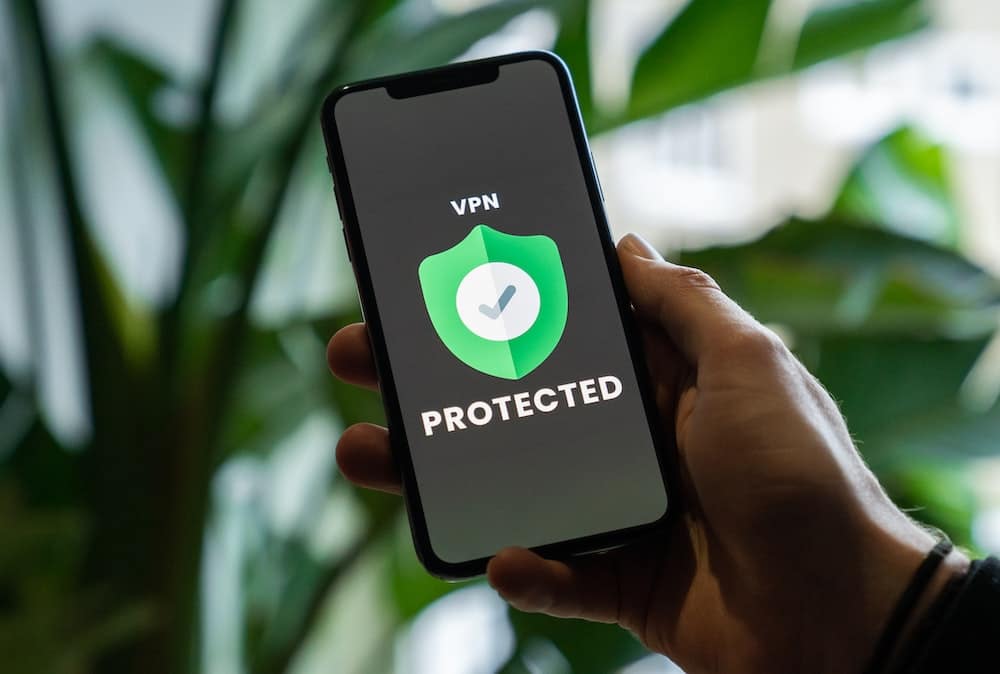
What VPN does do and how does it work?
Virtual Private Network (VPN) creates an encrypted connection between a browser and a device you access the Internet from.
When you access the web, and browse a specific page, your browser goes to the DNS system to get its domain and IP address with it, and only then does it connect with the web server that the page is hosted on. This pathway is also encrypted, but the SSL or TLS certificates, become frequent subjects to cybersecurity threats. Once you add VPN protection to the mentioned sequence, you get an additional layer of encryption put on the data transferred between your browser and a web server.
VPN assigns a different (though public) IP address to the browsing session, which makes it much harder for cyber attackers to track you down and penetrate the protection layer set on your connection.
Relying on a browser to encrypt your connection might bring about real security threats and expose vulnerabilities.
Why use a VPN?
VPN increases your privacy by masking your online activity and not letting it be processed by your ISP through encryption. VPN can help hide your location, your IP address and location, and your browsing history.
The specific benefits of using a VPN:
- Your personal information remains hidden. A VPN doesn’t let other sources access your connection, since it hides your online activity and personal information.
- The speed of the online connection may improve. Since you can visit and be present on multiple resources simultaneously, they all can affect your internet connectivity by consuming the data that’s coming from you. Thus, by using a VPN and thereby limiting access to data related to your online activity, you can speed up your internet connection significantly.
- You may get access to geographically restricted products or services. Because VPN changes your IP address, you are likely to receive access to some of the geographically restricted web content.
- You can safely use the public Wi-Fi. Public Wi-Fi is surely convenient, but that convenience might come at a price. Using a public network is multiplying the chances of someone accessing your private information. If you use a VPN, your data gets encrypted, thus it is not easily accessible to other users on public Wi-Fi.
- Stopping an ISP from tracking your online activity. Usually, when you use a browser to connect to the internet, information about what you do or did online gets to your Internet Service Provider (ISP) servers. When you use a VPN, your online traffic goes through VPN provider servers and gets there already encrypted.
Purchasing a subscription from a VPN provider is quite convenient and straightforward, and has many advantages.
However, if you want to have control over VPN services, you can very well build your own. And since it’s not that hard to do, why not set up one?
How to set up your own VPN
You can buy a VPN plan if you want to, but you don’t need to. You set up your own VPN following these steps.
Step 1: Have your server ready
If you currently don’t use a server, know that it’s necessary for the VPN setup. For example, you can use a free tier offered by AWS for setting up your VPN. For convenience, use a server with Linux OS.
When you’ve got your server ready, run the following command:
ssh (username you used to log into your server)@(the IP address of your server)
Step 2: Install and configure OpenVPN
To install OpenVPN, run the following command:
sudo apt update sudo apt install openvpn
Next, we need to configure the OpenVPN. Configuration involves generating keys and certificates for your server. To start the process, run the following command:
cd /usr/share/easy-rsa
sudo ./easyrsa init-PKI
sudo ./easyrsa build-ca
sudo ./easyrsa gen-req server nopass
sudo ./easyrsa sign-req server server
Next, generate the Diffie-Hellman key exchange:
sudo openssl dhparam -out /etc/openvpn/dh.pem 2048
(Optional) You can also generate an HMAC signature to enhance security, by running this command:
sudo openvpn –genkey secret /etc/openvpn/ta.key
Step 3: Configure the server
First, you need to create a server configuration file (/etc/openvpn/server.conf) and insert the following there:
port 1194
proto udp
dev tun
ca /etc/openvpn/easy-rsa/pki/ca.crt
cert /etc/openvpn/easy-rsa/pki/issued/server.crt
key /etc/openvpn/easy-rsa/pki/private/server.key
dh /etc/openvpn/dh.pem
tls-auth /etc/openvpn/ta.key 0
server 10.8.0.0 255.255.255.0
ifconfig-pool-persist /etc/openvpn/ipp.txt
push “redirect-gateway def1 bypass-dhcp”
push “dhcp-option DNS 8.8.8.8”
user nobody
group nogroup
persist-key
persist-tun
status /var/log/openvpn-status.log
verb 3
After that, save the file.
Step 4: Turn on IP forwarding
To do this, you need to uncomment the line in the config file (from the Step 3):
net . ipv4 . ip_forward=1
Then save the changes:
sudo sysctl -p
Step 5: Configure the firewall
You need to properly configure the firewall so that it allows VPN traffic to come through:
sudo ufw allow 1194/udp sudo ufw allow OpenSSH sudo ufw enable
Step 6: Configure the client
First, you need to generate the client keys:
cd /usr/share/easy-rsa sudo ./easyrsa gen-req client nopass sudo ./easyrsa sign-req client client
Create the configuration file – client.ovpn – in /etc/openvpn/ and insert:
client
dev tun
proto udp
remote your_server_ip 1194
resolv-retry infinite
nobind
persist-key
persist-tun
key-direction 1
remote-cert-tls server
tls-auth ta.key 1
data-ciphers AES-256-GCM:AES-128-GCM
verb 3
Step 7: Switch on the VPN
Now you can connect to your own VPN server, using:
openvpn –config client.ovpn